Saturday, April 22, 2017
Boy, time goes by, priorities change, new things come up, ... I pretty much forgot I made this blog. I got an email yesterday from somebody who had been reading through this thing and had a few questions. It got me back reading it. One of my last posts said something about it being three years and it was time to finish this project and the last picture I posted was of a rolling frame with a mostly finished exhaust. Funny how we can't see the future. It ended up being almost 7 years to the day between driving this truck into the shop and driving it back out. For the last two years, it has been my daily driver and tow rig for my 1977 Silver Streak 31' travel trailer. I love this truck! Since I left over 25,000 hits worth of people hanging on this project, I thought I would at least post some closure. Sorry I got burnt out on the documentary. If you have any questions about how I did anything I did not post, feel free to contact me through the "contact me" link. I tell you one thing, this is the last project I do where I paint the frame. Once I did that, the bog down on the project began. Every part that went back on needed to be new or cleaned up and painted or polished. What started as a drive train swap and paint job became a resto-mod on a project with a near zero dollar budget. Later I will post a pic or two.
Tuesday, November 22, 2011
Still exhausting
Still punning. The "' Stan's kit is now permanently in place. Somewhere along the line I swapped the turbo exhaust housing to a 16 cm housing. This should help spooling compared to the notoriously laggy factory housing.
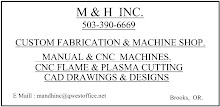
 On these trucks, with the right hand drop on the transfer case there is not a lot of room for a fat exhaust pipe. Here are some clearance issues. The transfer case.
The cross-member.

The front drive shaft.
 For the frontmost hanger, I made a stepped bolt and used a shock absorber bushing in a factory bracket at the bell housing.
This is a hanger at a little cross member at the back of the cab.

This is at the cross member that goes over the fuel tank between the front hangers of the rear springs.
 Another pic.
 I wanted to make sure a spare would fit, so I stuck one in the frame.
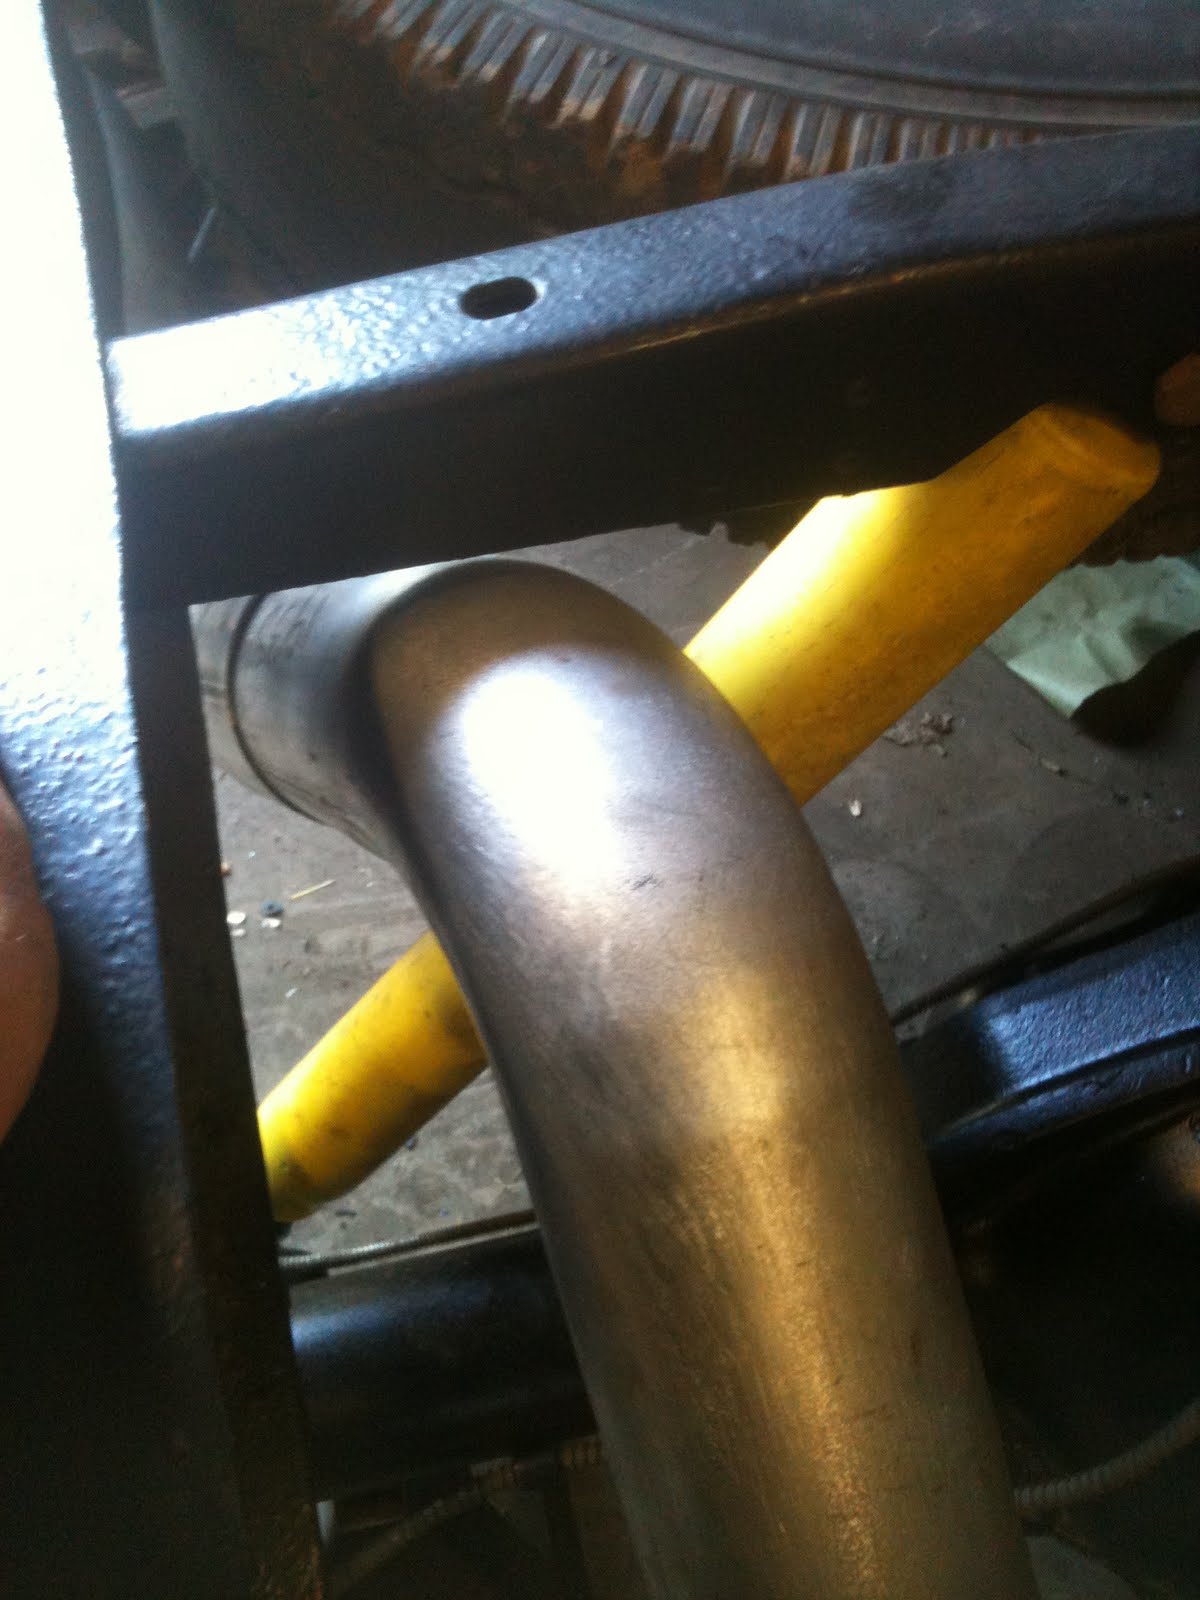 All fits well. Since the kit was made for an extended cab long bed in which the frame is 6 inches longer behind the rear hangers, I will need to cut 6 inches out of the tail pipe. I will wait until I get the bed on for this, though.
 For now it just looks a little goofy.
This is becoming exhausting.
Sorry about the pun. I have been concerned about the tight clearance between the 4" Stan's exhaust and the cross-member brace at the transfer case. I am sure the Stan's would have fit fine in a factory situation, but, with the NV4500 and the home made transfer case mount, the cross member is probably sitting back a little which makes the wiggle room a little tight. So, I marked where the exhaust comes closest to the brace, then removed the brace for adjustment...
 ...in the form of cutting slots with the cut-off wheel...
 ...beating it mercilessly with my 2-pound ball-peen hammer...
 ...whammity, wham, wham...
 ..and welding it back up. It gained me about another 1/2 inch of clearance.
Insulating the cab roof.
Anybody who drives these old crew cabs knows the way the roof acts as a drum. On various internet sites there are frequently debates as to how to deal with this if you are building a diesel truck and you want to be able to carry on normal conversations or listen to the radio. Many people are against filling the space between the ceiling and roof with foam is a mistake just asking for rust issues. I disagree. Year ago I filled the roof of this truck with foam. It has been sitting outside ever since. Before I filled it, I had too repair rust all the way across the top of the windshield. To this day, the rust has not returned and the roof just makes a dull thud sound when you knock on it.
Long story short, I am filling the void in the roof of this new cab. I attached a longer hose to the cans of Great Stuff to reach deeper into the recesses.
 I happen to have some hose that fits over the Great Stuff straw perfectly.
 Being the brute that I am, I went ahead and bored some holes in the ceiling that are the same size as the rubber plugs that cover the body mount bolt holes in the floor. I plan to make headliner inserts someday to cover them, but I really won't mind if the rubber plugs are visible indefinitely.
 When it was all done, between three new holes, the sunvisor holes, and the rear dome light hole, the roof is now full and muted.
 Just a little trimming...
The Powerlock
Once again it has been a long time since I put in any updates. Progress is depressingly slow as the bones grind on each other in my low back, but every once in a while I get out there and make a couple of hours progress.
Here is the condition of the friction material in the limited slip. In the process of swapping gears, I put in new clutches.


 I thought it was pretty cool looking at how this thing works. I have no pics, but, with the help of M & H machine. The rear end is all buttoned up with 3 inch brakes, working park brake cables, and fresh paint. It is all buttoned-up under the truck with some springs from the cab&chassis. I removed two leaves from each side. Air bags will take up the slack some day.
Saturday, April 9, 2011
Dug into the Dana 70 Today
The rear axle for this guy was from a cab and chassis dually. The c&c housings are only two inches wider than the standard pick-up axle and since this one had 3 inch brakes and a limited slip, I thought I would just replace the 5/8 inch wheel studs and use it. That plan changed today. The first thing I noticed was the magnet in the cover. Yuck. Hopefully that is just magnetic friction material. I was planning on rebuilding the Power Lok anyway.
 Then I noticed this. Well, Maybe I can polish the rust off with emory cloth. maybe the hardened surface of the ring gear teeth aren't pitted. Then, I wiped the oil off the side of the ring gear and saw that these are 4:10 gears. Nooooo. With the tire size I will be running and the type of driving, I wanted them to be 3:54s. For a couple of years now I have thought they were 3:54s. I do not kno where I got that thought, But I was stunned this morning. What makes it even worse, I recently bought a set of dana 60 4:10s for the front of my ramcharger and had M&H machine install them for me. They took out 3:54s. I could have just swapped axles. now I will not only need to have them drop some 3:54s in my rear axle, I will need to have them put my old dana 60 ring and pinion into this truck's front end. Good grief. Anyway, I have a spare dana 70 rear axle that has the proper gears. I will just have M&H put the Power Lok in that one.
 I took this pick so I would have a guide for putting the brakes back together.
 I wonder if the same guy who silly-coned the king pin dust cap also put this hose clamp on the parking brake cable/lever.
Cab Work - shifter holes and sound deadening.
One of my goals for this truck is to make it at least as quiet as my second generation cummins dodges were. My first step in accomplishing this task is spraying sound deadener on the outside of the floor. I thought this would be easier if I stood the cab on end.
 As I,ve said before, this cab pretty is rust free. You can see the factory 4-speed hole in the tunnel as well as the round hole I put in for the NV4500 shifter. The round hole was barely big enough so In the process of patching the other hole I enlarged the new one to factory size.
 Here you can see the rough opening of the new hole and the patch on the old. You can also see two smaller holes. These are the end radii for the transfer case shifter.
 This shot is from the inside. The black on the floor is POR 15. I put it on all the surfaces that showed a hint of surface rust.
 Back on the bottom side, I went over the floor with a cup brush in an angle grinder and followed that with a scotchbrite pad. Then, I used brushable seam sealer on all the seams and on my patch. You can also see the finished transfer case shifter hole.
 Here is the ugly mess of sealer and patch.
 Next, I started spraying the sound deadener with an undercoating gun. You can see the texture of the first pass.
 The plan is to get about 1 mm thickness per pass and do two passes. The temp in the shop is below 50 and I have to put my halogen lights on it to get this water based stuff to dry.
 About halfway through the first coat.
 This is the product I am using and the gun. The stuff is called Spectrum and its made by Second Skin. It runs about $60 a gallon, and it is thick stuff. It goes on a bluish grey, but dries black. It seems pretty hard when It dries. I have right at a gallon on the underside of the floor with two coats.
 The finished product.
 After setting the cab back down on the floor, I also did the engine side of the firewall with two, or was it three, coats. That was a week or so ago. Today I scuffed and cleaned the inside of the cab and shot the first coat on the inside of the firewall, the floor and the back wall.
 I have right at two gallons on the cab as of now. The second coat on the inside will take most of a third gallon.
 The texture is not bad and I am thinking of using it on some exposed surfaces and painting over the top of it. I did put it on my kick panels. They may get covered with plastic trim, but then they may not.
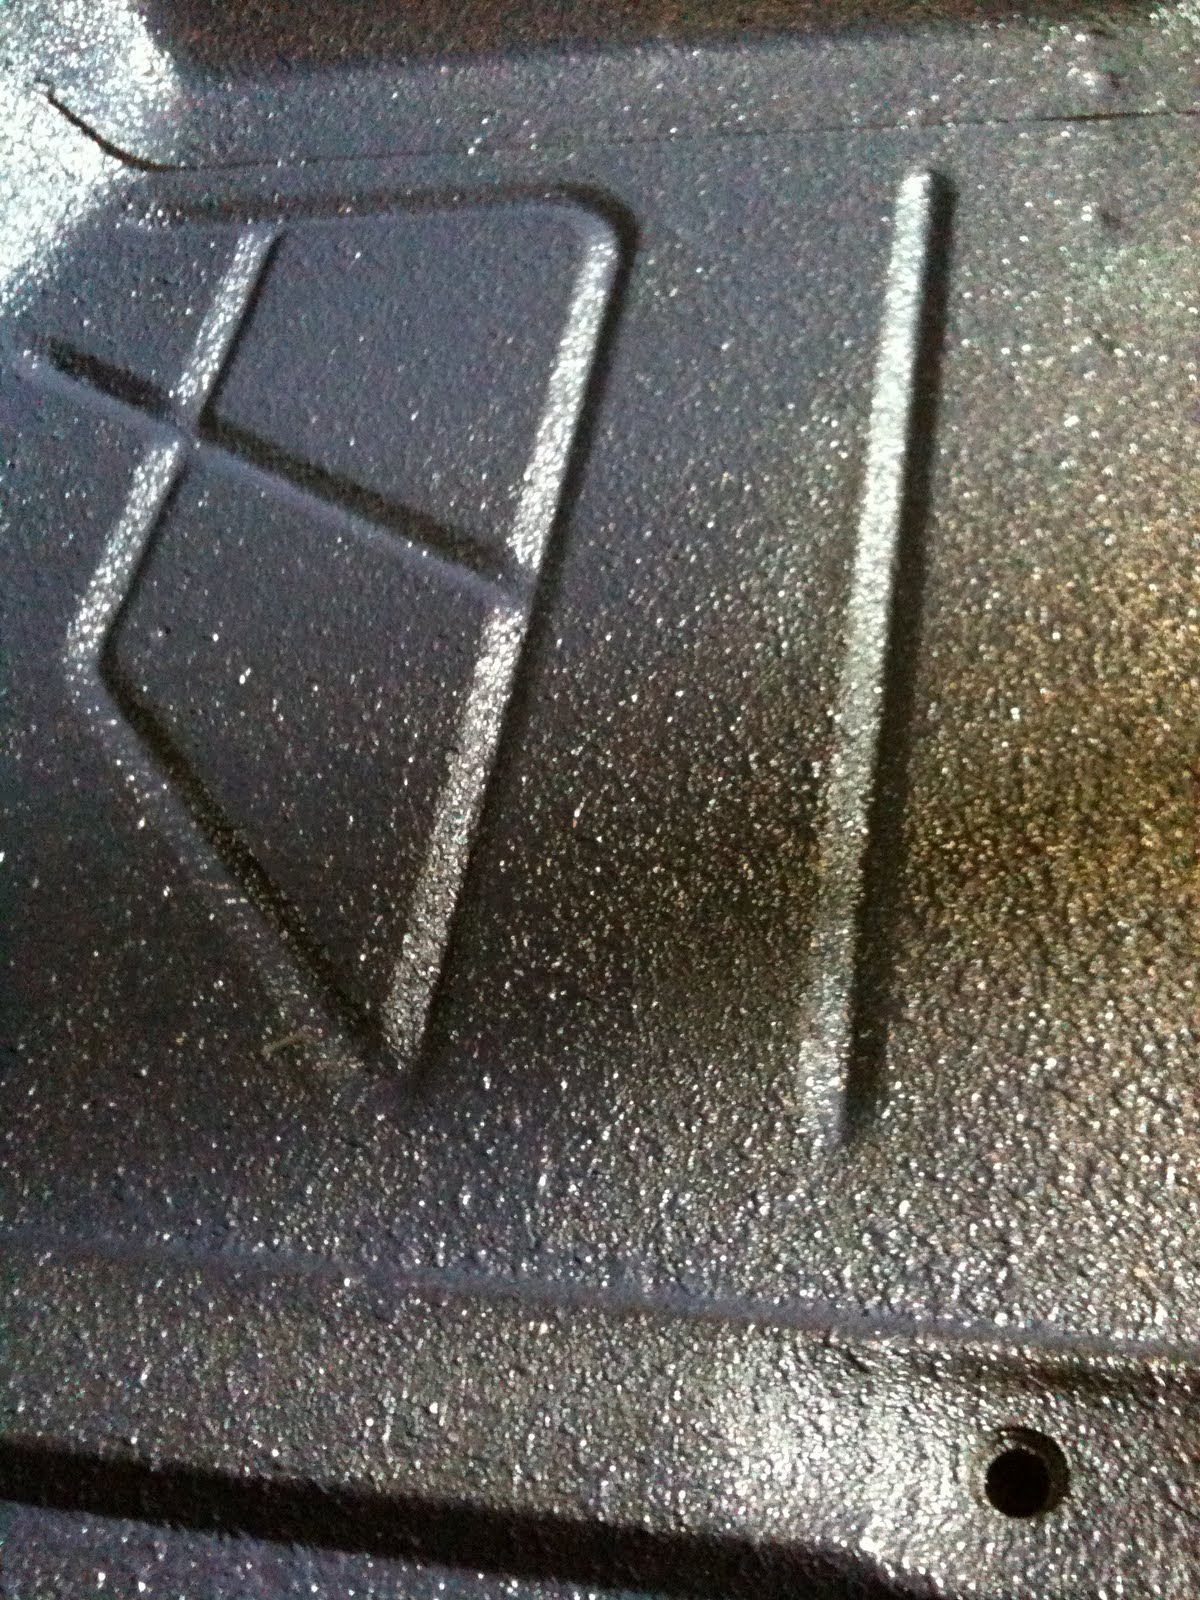
Subscribe to:
Posts (Atom)